Showing posts with label binder box. Show all posts

Thursday, August 27, 2015

CCSF: Supplies help for view camera class (updated)

It can be confusing to find the right film and supplies.  It's especially true for photographers just getting started with film because there's so many choices out there.

So, today I'm posting some links to help my View Camera students find the right film and paper.  These links come from B&H, or bhphotovideo.com  You can also go directly to the website and search for the shared wish lists under my last name.

Don't forget to shop around and try local stores too.  Local stores can provide individual attention, student discounts and an easy way to cruise used gear.  I put a list of local resources on the syllabus.

I have personally tested the products below, with the exception of some of the color films.  There's little discount (sometimes none) in buying large boxes of film.  And, the benefit of buying small packs of film is that you can use the empty boxes to store exposed film until you are ready to process it.  It's nice to keep a couple around just in case.

Ilford HP5+ (black and white)

Kodak Tri-x (black and white)

Kodak Portra 160 (color)

Kodak Portra 400 (color)

Ilford FP4 Plus (black and white)

Negative sleeves
These protect your film after it's processed.  Also made in singles (instead of 4 per sheet).
Binder box
This binder has a wall all around the sides to help keep dust and contaminants off your film.  Not waterproof, but really good for avoiding dust spots later.
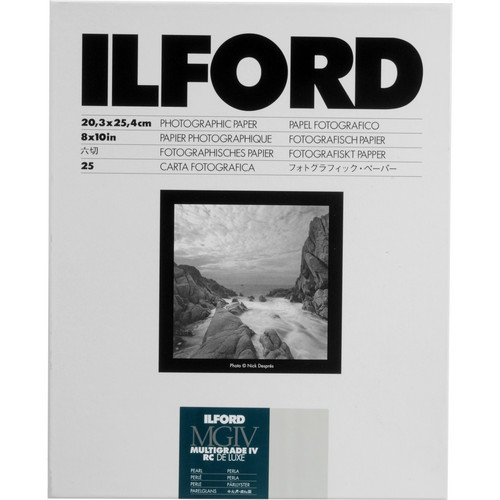
RC paper (25 pack)
Ilford is a good brand, and is available at most locations.  Notice that the packaging will show it is resin coated: RC.  It also says that the paper is variable contrast, or multigrade: MG1V.  The surface of this pack is "pearl."  That's between glossy and matte and pretty easy to work with.

Buying a larger of paper box WILL save you money in the long run.  You can also share a large box with a friend!  However, don't buy more than you will use within a year.  It can loose contrast and fog over time.
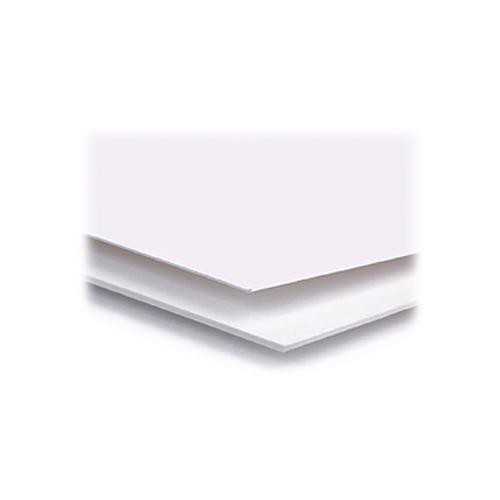
Mat board
Should be white, antique white, or bright white.  Not colored, black or gray.  Archival, acid free and 100% cotton are best, especially if you are going to permanently mount your prints.
linen tape
Creates the hinge on your overmats.  The self-adhesive is convenient, but I like the wet-and-stick type better.
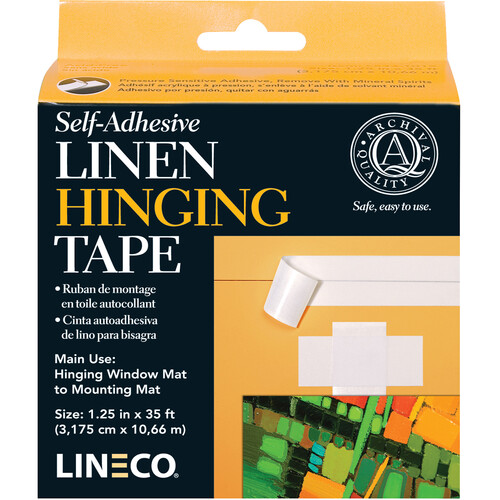
photo corners


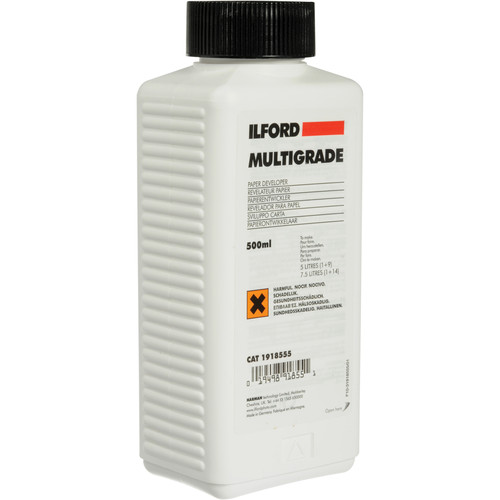
Paper developer
Ilford Multigrade developer is easy to mix and is good quality.  It is concentrated.  For paper, the dilution is 1:9.  That means you'll get 10 times the quantity of the bottle.
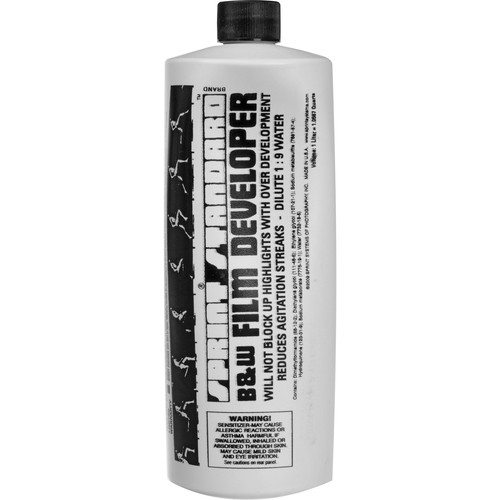
Film developer - Sprint
A good all purpose developer, easy to mix.  The dilation ratio is 1:9.  That means it'll give you 10 times the quantity of the bottle.
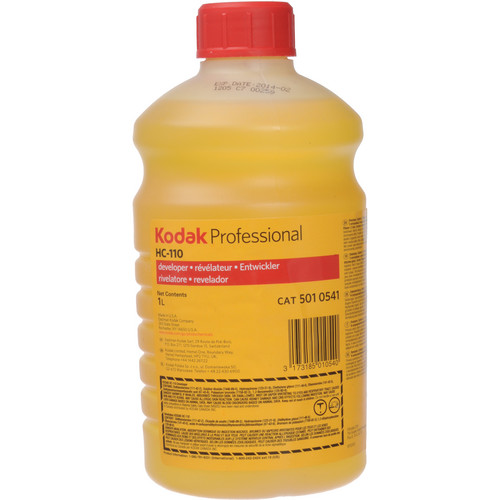
HC-110 film developer
Fast development times, fine grain, standard for working with 4x5 film.  Economical because it is very concentrated.  You'll need to buy a very small measuring cup for this because the school doesn't have them.  It should be about 1 ounce size.  The final dilution ratio is 1:32.
Film fixer
This Ilford fixer is good quality and easy to mix.  The dilution ratio for film is 1:4, so you'll get 5 times the bottle size.   It is also reusable, so it should last the whole semester.  Don't forget a bottle to store the mixed solution in.


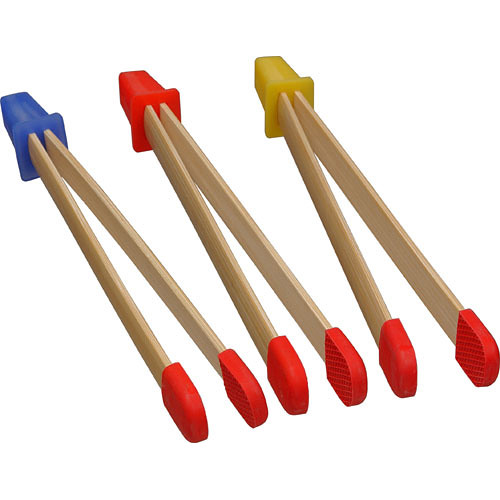
tongs
These are required for moving prints from chemical to chemical.
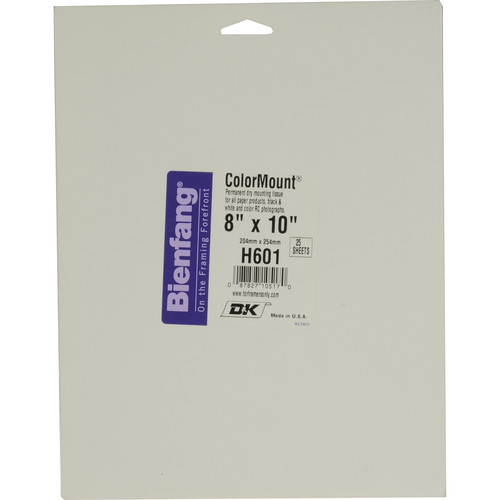
Dry mounting tissue
If you choose to dry mount, you'll need something like this.  It's permanent, so buy the best quality you can afford.
anti static cloth
is a convenient way to remove dust from negatives, and to tidy equipment.
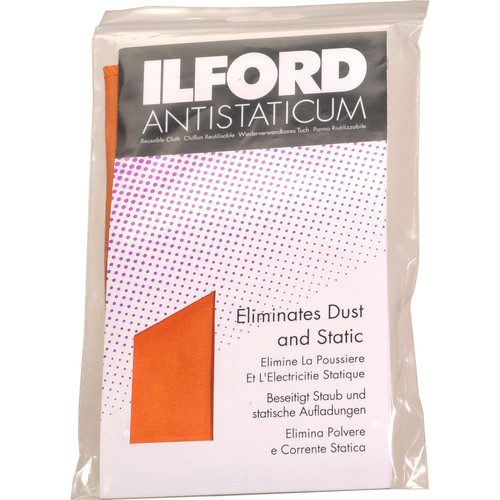
Okay, that's about it for now!  I'll bring in some samples and discuss more of your options as the weeks progress.  Have fun shopping.  


Update: 

I've found out that students at CCSF need to purchase all film chemicals except photoflo.  I've added these to the bhphotovideo wish list.  You don't need to buy it there, but it'll give you an example of what kinds of products will work.  http://www.bhphotovideo.com/bnh/controller/home?O=wishListDetail_NEW.jsp&A=wishlistDetail&Q=&li=2153E937A8

Here's a basic update on the things you'll need (I hope I don't miss anything):

binder for negatives
negative sleeves
photo paper
cable release
film
polaroid film (optional)
gloves
paper developer
tongs
film developer
a very small measuring container for developer (like 1 ounce)
film fixer
stop (optional)
bottles for fixer and stop (32 oz is probably fine)
also: thermometer for film processing


Recommendations for this stuff = share!

There is no reason that one student needs to buy huge quantities of chemicals and it's much easier to share with someone.  Depending on how much black and white processing you want to do, multiple students could share a bottle of developer and fix.  Fix will last a long time and is reusable.  Tongs are sharable.  Multiple students can share one tray of developer in the darkroom!

Powdered or dry chemicals?

Please do not purchase any powder chemicals.  They are much more difficult to mix and hazardous if breathed.  The liquid chemicals are slightly more expensive, but worth it.


Saturday, August 15, 2015

CCFS: Getting ready for a new semester

This fall semester I am super excited be returning to CCSF to teach View Camera Techniques.  The course is Saturdays, so it might be a little more accessible to you working students.  Here's a link to the school website: http://www.ccsf.edu/Schedule/Fall/photography.shtml

Here's a couple other things you'll want to know about the class:

Course overview
PHOT 83 is an introductory course in large format photography.  Students will master the unique applications of a manual view camera, understand techniques to properly expose and process large format film, and create quality prints and digital files from negatives.  To receive a passing grade, students must demonstrate accomplishment of course goals, participate in course activities, and complete all assignments to a satisfactory level.

Textbook
A User’s Guide to the View Camera, 3rd or 4th Edition, by Jim Stone

Prerequisites/corequisites

Prerequisite is PHOT 51 or demonstration of exit skills.

Upon completion of this course a student will be able to:
Describe view camera parts
Calculate view camera shooting exposures
Measure bellows extension exposure factors
Compare and contrast reflected light meter readings with incident light meter readings
Demonstrate vertical perspective control
Demonstrate horizontal perspective control
Describe Scheimpflug Principle
Experiment with camera movements to achieve selective focus.


This is the type of camera we'll be using.  A 4x5 rail camera.  


These Cambo cameras are pretty easy and affordable to find on Ebay or B&H, but I recommend using the department cameras first.  Once you figure out what you like and don't like about it, you can get your own or pick out a camera model that's just right for your needs.   

Wednesday, August 6, 2014

Supplies

Required course supplies & materials 

In order to complete assignments and participate in lab activities, you'll need to get some supplies.  These should be obtainable at the Fremont bookstore, or any of the resources listed in my other blog post: resources & rental labs.

Students usually spend $150-200 on supplies, not including camera or textbook.  Students can save cash by planning ahead and shopping around for the best deal.  They can also save by teaming up with classmates to buy bulk quantities.  Student discounts are offered at some stores.

Students can also save a lot of money by using good methods in class.  By paying attention, concentrating and coming prepared students can avoid wasted supplies (i.e. doing the reading, taking notes, not rushing).  Students who take these steps can do all the classwork and more without having to buy an excess of film and paper.

Below is the supply list from class.  I've created some links to examples.  I am not promoting one supplier over another and these may not be the best prices.  It is your job to shop around.  


1. Camera

You will need a minimum of 14 rolls of film.  
Take care not to purchase c-41 process film (that's color film - examples).
  • 12 rolls will be 35mm film with 36 exposures 
  • 2 rolls will be 120mm, medium format film. 
Three reliable brands of film are:
  1. Kodak Tri-X 400 ISO - examples
  2. Ilford HP5 Plus 400 ISO - examples
  3. Arista EDU Ultra 400 ISO - examples

3. Photographic paper

The photographic paper is sensitive to light.  Don't open it until you are in the darkroom under special lights.  If you open it in regular light it will be ruined.  

Here's the basics on paper (example):

And here's the explanation of photo paper...

Quantity
Most students use at least 100 sheets of paper in the semester.  Some previous students say that 125-150 is about what they used.  A few students (those who do careful work) said they used about 80-90 sheets of paper.  You'll need photo paper in the first week.  If you are planning to order online, you might need to buy a small pack from the bookstore or borrow some from a classmate.  

Size
Most assignments require that prints be 8x10 inches or larger.  You are welcome to buy smaller paper for your own personal use.  You can also cut 8x10 inch paper to size.  

Brand
There's lots of brands of photo paper, but I am recommending Ilford brand because it is very reliable and I've never had any problem with it.  This will also ensure a consistency of workflow in the darkroom.  

Variable contrast
When paper says variable contrast, it simply means that you can use different colored light to change change the contrast (the contrast is variable).  Another way to say that is "multi-grade," meaning the paper is able to render multiple grades of contrast.  VC, or MG, paper is the most common type these days, but some paper has only the capacity for one grade of contrast (it will be called "graded").

Resin Coated (RC)
There are two main types of paper backing available today.  One is "fiber" or FB, and the other is "resin coated" or RC.  RC paper is the type we'll use in class.  It has a resin coating on front and back, which makes it slightly waterproof.  It has faster processing times and shorter wash times.  

133B students are encouraged to transition to fiber paper.  Fiber paper has a heavier weight and a more organic feel to it.  Historically, fiber paper has been regarded as the standard for galleries and museums due to it's superior quality and silver content.  Wether that still rings true is now questionable.  It is now more common to see RC paper in these settings, but I think it is well worth your time to learn how to use it.  It does cost a bit more and takes longer to process.  Wash times are considerably longer (with more steps) so you need to be efficient and manage your time well at end of lab.  This product will not be available in the bookstore but will be available from any other supplier on the list.

Surface for RC paper
There's lots of different surfaces for RC paper.  For RC, I recommend "pearl" surface.  It's not quite glossy and not quite matte.  It's easy to work with and doesn't show finger smudges as much.  It's easier to "spot" than glossy.  However, if you are set on getting glossy surface paper, it's fine with me.

Surface for fiber paper
For fiber paper, the only I recommend is glossy (at this time in your learning process).  The glossy fiber paper is not the same as glossy RC.  It has a nice smooth sheen and is easy to work with.  Other surfaces, like matte, are really hard to work with, so I do not recommend it until you have some experience with fiber papers in general.  

4. Negative storage pages 

Negative storage pages are plastic sheets that protect and organize your film.  There are several types out there, and my favorite is CP-7HB.   It costs a little more, but has an extra pocket to keep your contact sheet together with the negatives.  For your 35mm film, it's best to get the ones that fit negatives 5 across and 7 down because it will fit in a standard binder.  You will need one sleeve for each roll of film.  The bookstore will sell single sleeves to fit 120 film.  

5. Binder or binder box for negatives

Dust is the photographers enemy, especially on your negatives.  One of the best things you can do to avoid dust on your negatives is to store your negative sleeves in a binder separate from your regular notebook.  I also like to use a "binder box" because it seals the edges of the binder.  You can achieve a similar level of protection with a clean plastic bag around your binder, or just be careful to keep it clean.  


6. Large paper folder, envelope or bag to turn in projects.

All your photographic projects need to be turned in using some kind of portfolio package, like an appropriately fitted bag, folder or envelope.  This helps to keep your work clean, organized (so your prints don't get mixed up or lost) and to make it easy for me to move them around.  The envelope is a requirement of the assignments.  You can make your own by purchasing some heavy paper in the bookstore and taping the sides.  If you want a professional style presentation box, here's an example from Freestyle.

7. At least 2, 8x10” sheets of cardboard or thick black card stock

You need to get this cardboard during week 1 for the lab activity on Thursday.  YOU NEED THIS.  Please don't blow it off.  It's so easy to grab an old box from the recycling.  

8. A towel to donate to the darkroom

We use towels in the darkroom to dry equipment at the end of the day.  Each student brings one to leave in the darkroom.  It won't be usable at home anymore, so I recommend just bringing an old one.  Please make sure it's clean though.  

9. Basic school supplies

You'll need basic school supplies for taking notes.  You need to bring these every day.  You'll also need a Sharpie marker for one lab and to write your name on your stuff.  

10. Gloves

Gloves are mandatory for film processing.  Anyone caught without gloves is in violation of safety rules and will be required to leave immediately (even if you are in the middle of film processing).  Nitrile gloves provide the highest level of protection and are recommended.  They can be found at most drugstores.  Example at Walgreens.

11. A small, thick walled cardboard box or tin for an assignment.

One of our labs will involve making your own camera out of a box.  It's best that it be small, like less than 5-10 inches.  They can be very small, like 2 inches if you want.  It needs to have thick walls to block out light, or be painted black.  Look around and try to find some interesting boxes to use.  A mint tin will work, also try cell phone boxes, or shoe boxes.  You can build a box if you want.  See the schedule for the due date on this item.  

12. Presentation supplies

Most of the photographic assignments will be matted.  To do that, you'll need the following supplies.
  • 20 sheets of 11x14 inch size mat board - examples
  • a pack of at least 80 photo corners - examples
  • linen tape, minimum of 5 feet total - examples
  • Pencil

13. Optional Supplies

The following supplies are optional, but can be fun and useful.


Have more questions about these supplies?  Post a comment below.